One of the biggest improvements in Ubuntu 9.10 from Ubuntu 9.04 is the Software Centre Program for installing and uninstalling software. It is very easy to use. All you have to do is click a few buttons to add and remove software. In this tutorial, I will teach you how to install and remove software with Software Centre. You also need to be log into an administrator account, and have the admin. password, so you can type it in when Ubuntu ask you to authenticate an action.
Install Software with Ubuntu Software Centre
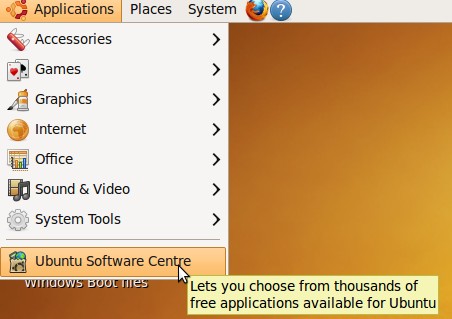
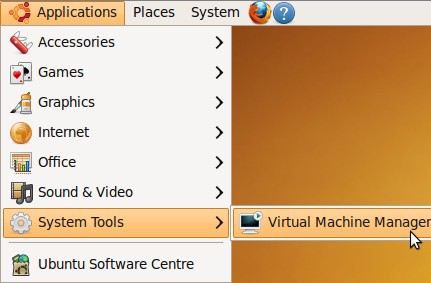
Software Centre is located at Applications > Ubuntu Software Centre at the bottum of the list. Make sure your computer has an internet connection to download and install software from the internet.
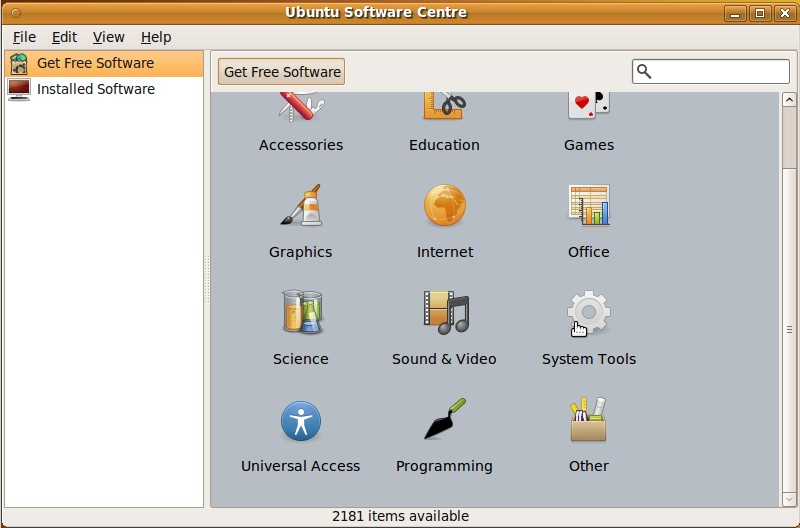
1.To install software, pick a category to install software, and click on it. I picked System Tools.
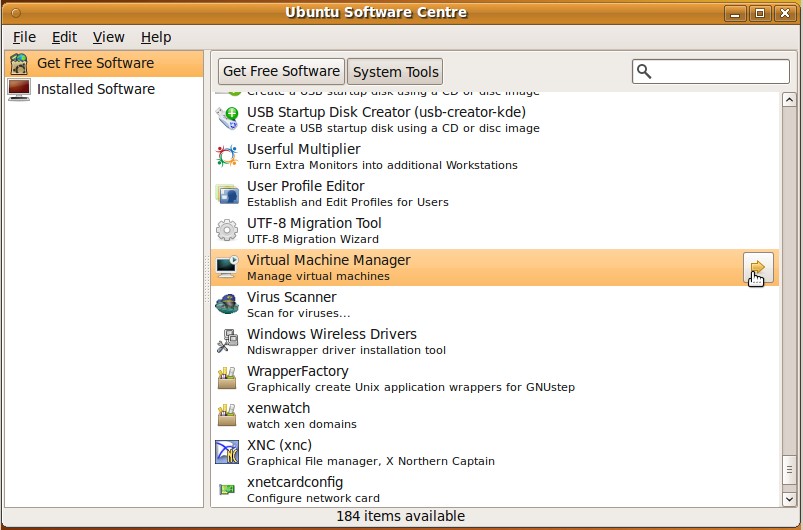
2.Pick the software from the list you want to install, and press the right arrow button. I picked Virtual Machine Manager.
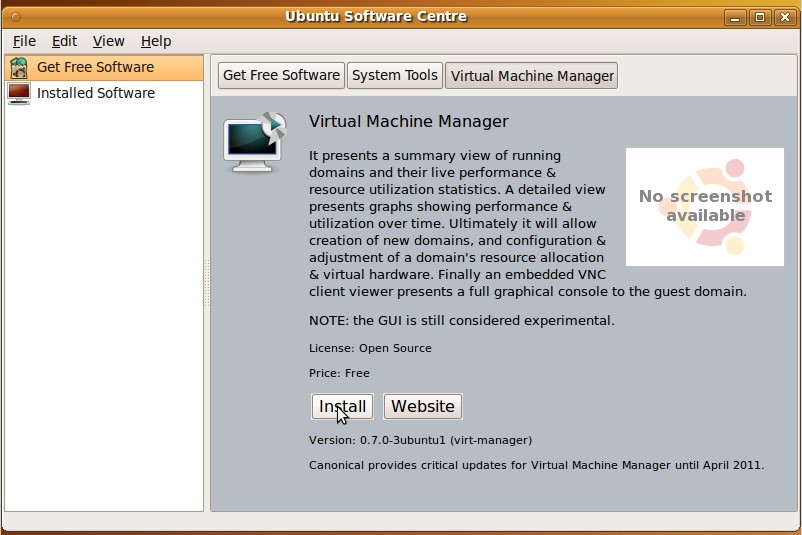
3. Press install button.
4. Wait for your program to finish installing.

5. Virtual Machine Manager should be installed now. You can use it at Applications>System tools>Virtual Machine Manager
Uninstall Software with Ubuntu Software Centre
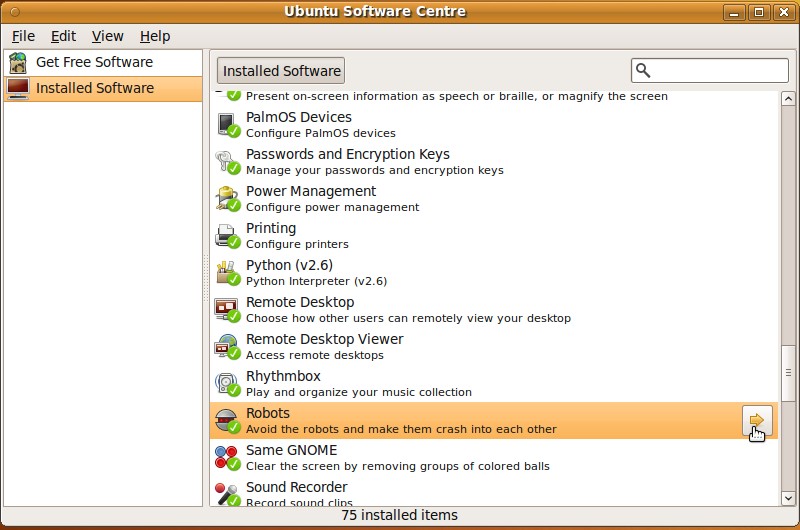
1. Click on Installed Software, pick the software on the list you want to remove, and click the right arrow button.
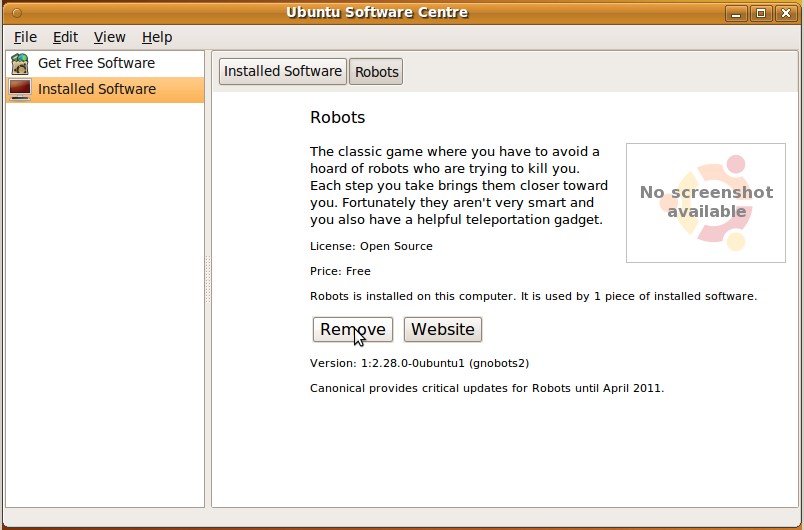
2. Click the Remove button.
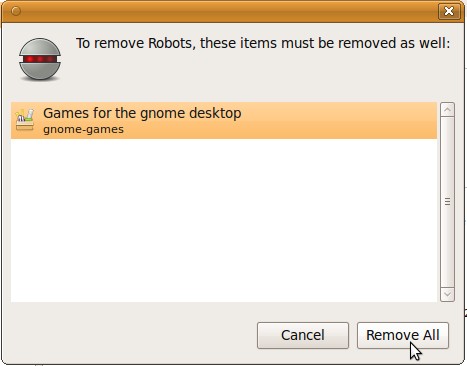
3. Click Remove all button.
4. Wait for your software to remove itself from your computer.

5. Now Robots is uninstalled from my computer.