VMware player is VMwares’s free virtualization software product for consumers to use. It is easy to use, and reliable. A virtual machine is a virtual operating within your main operating system like XP using VMware to run Linux inside of it.
Before you begin the install you need to download the .bundle (not .rpm file) installation file from VMware and put it on your Administer root USER Folder. Login as an administrator.
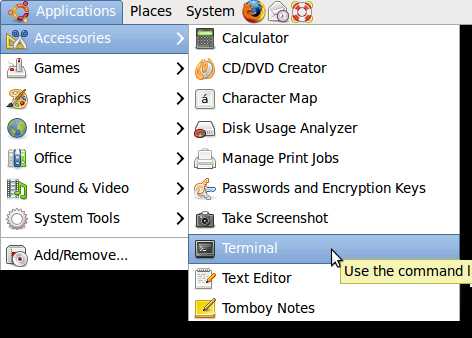
1. Go to Applications, Accessories and click on terminal short cut icon.
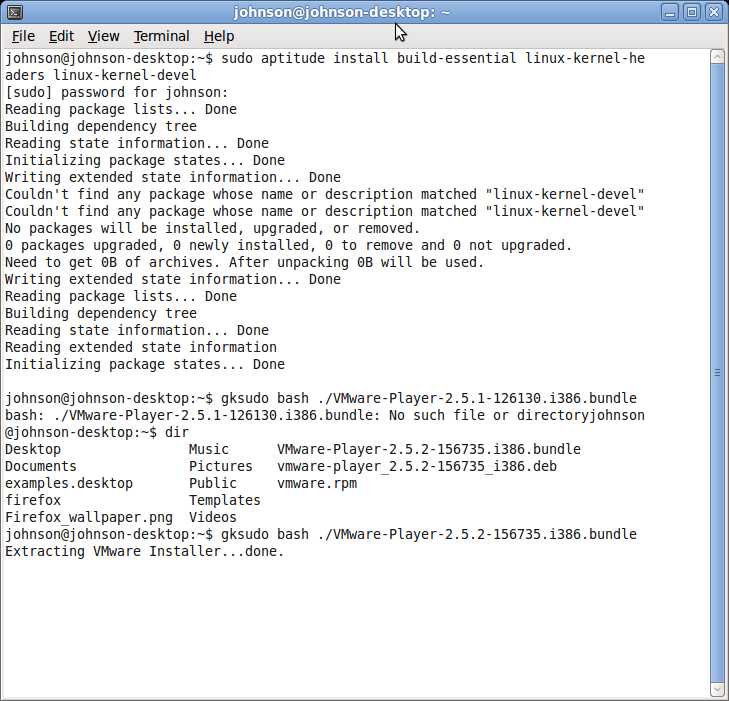
2.Type these commands in terminal command prompt.
~$ sudo aptitude install build-essential linux-kernel-headers linux-kernel-devel
~$ gksudo bash ./VMware-Player-2.5.2-156735.i386.bundle
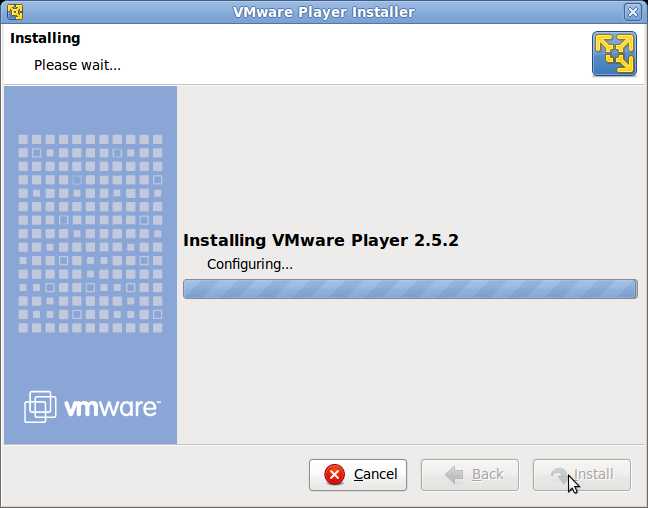
3. VMware setup will begin.
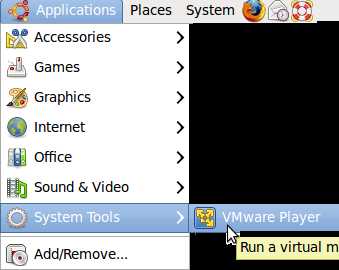
4. Location of shortcut for VMware is at Applications > System tools > VMware player.
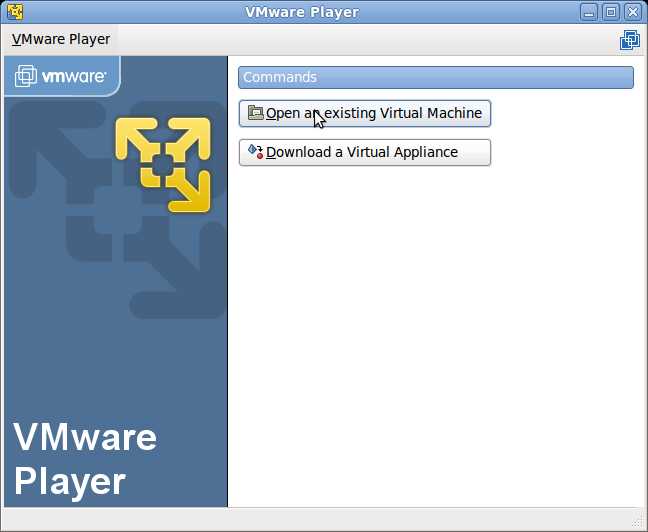
5. Click “Open an existing Virtual Machine” button on VMware player.
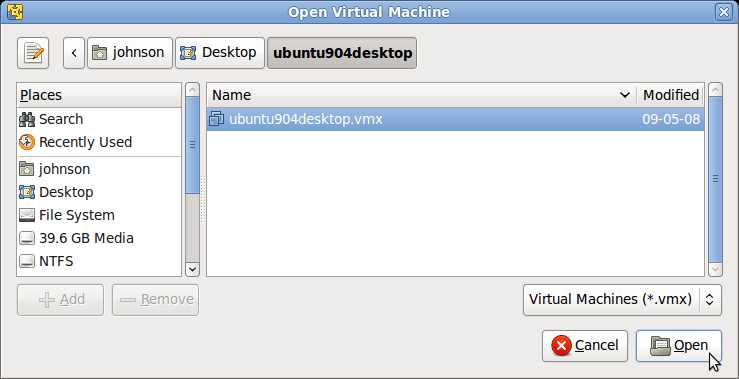
6. Find your virtual machine file by going to the folder you saved your Virtual machine file that you downloaded from VMware or made your self. Virtual Machines have a .vmx file extension.
6. Your Virtual Machine operating system should start now.